Viking Range LP Conversion Kit LPKPDR01: What It Changes
LPKPDR01 is the optional kit that converts a Viking 5 Series gas range from natural gas to LP; a qualified gas installer fits it, not the owner.
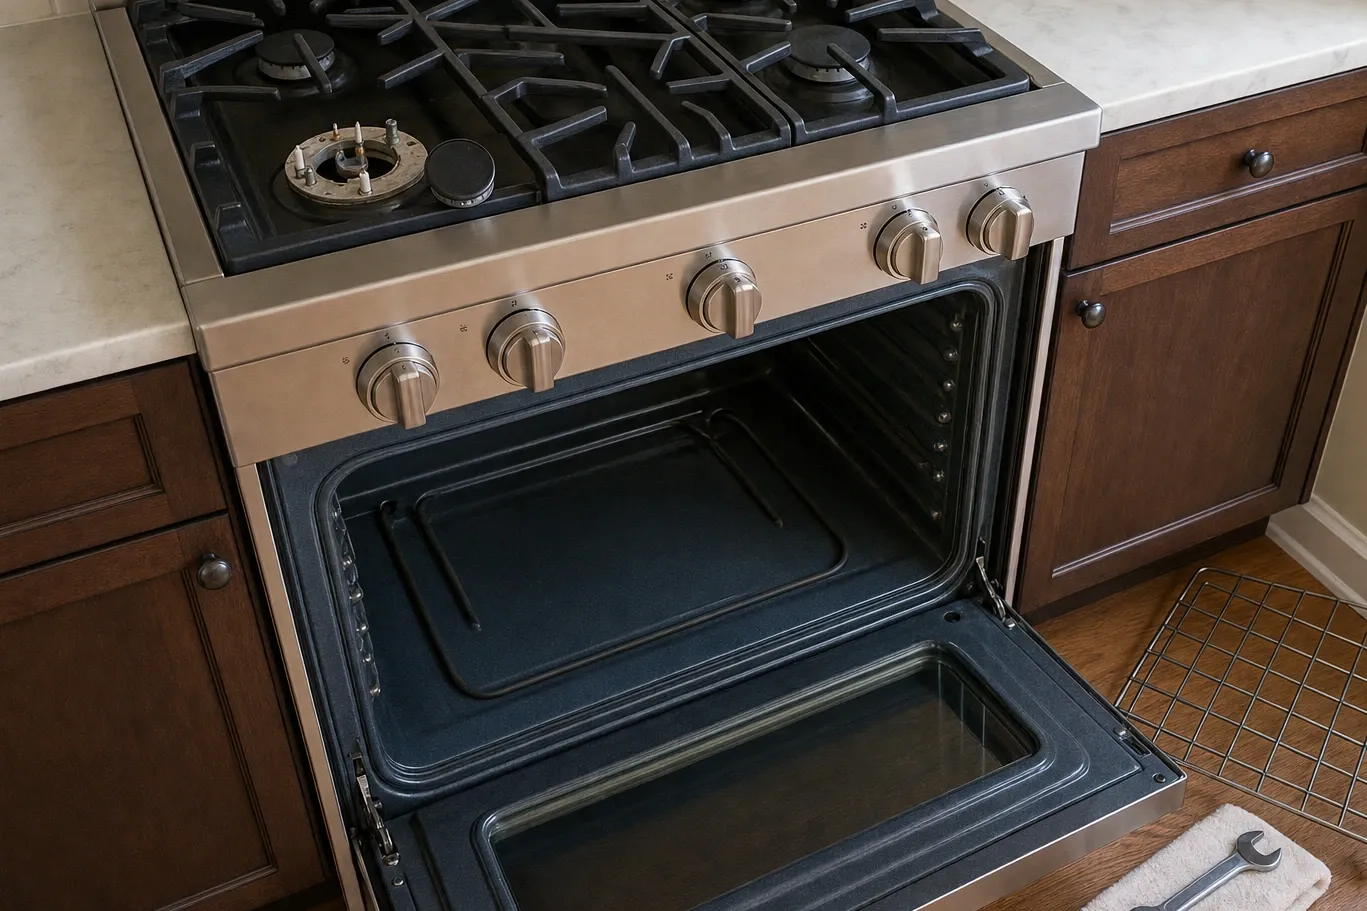
LPKPDR01 is the optional field-conversion kit Viking lists for switching a 5 Series gas range from natural gas to LP (propane), and fitting it is gas work for a qualified installer or technician rather than a weekend project for the owner. The range is built for one fuel or the other before it ships, so the kit only matters when the gas at your shutoff valve is not the gas the range was set up to burn. In practice that happens in homes fed by a propane tank, and in kitchens where a range bought for one house ends up in another.
Which Viking ranges the kit is for
LPKPDR01 is tied to the 5 Series gas ranges, the professional freestanding models in 30-inch and 36-inch widths. Look at the rating label before ordering anything, because it states which fuel the range was built for. A range already marked LP needs no kit. A range marked natural gas that is headed for a house on a propane tank has to be converted before a single burner is lit. If you own a different Viking line, such as a 3 Series or a Tuscany dual fuel range, take the correct conversion part from that model’s own installation manual instead of assuming this number covers it.
What actually changes inside the range
Propane holds more energy per cubic foot than natural gas and arrives at a higher pressure, so a burner sized for one fuel burns badly on the other. A conversion corrects both sides of that problem. On a gas range it generally means the installer:
- swaps the small orifices that meter gas into every surface burner for LP sizes,
- does the same for the oven, which on the 5 Series means the 30,000 BTU U-shaped bake burner and the Gourmet-Glo infrared broiler, both lit by SureSpark ignition,
- moves the range’s pressure regulator to its LP setting,
- resets the low-flame adjustment on each valve so the flame stays steady at the lowest knob position,
- leak-tests each joint that was opened, then lights every burner and watches the flame.
The exact sequence and part locations come in the instructions packed with the kit. Those instructions, not a generic online video, are what the installer should be working from.
The numbers the installer checks
Every 5 Series gas range carries its own regulator, fitted at the factory, and the installation manual says plainly that it must never be bypassed. That regulator is what the conversion resets, and it is the reference point for each pressure reading.
| Reading | Natural gas | LP (propane) |
|---|---|---|
| Manifold pressure at the range regulator | 5.0 inches of water column | 10.0 inches of water column |
| Standard sealed burner | 15,000 BTU | 12,500 BTU |
| TruPower Plus front-right burner, select models | 18,500 BTU | 16,600 BTU |
| Highest pressure allowed at the range inlet | 1/2 PSI (14.0 inches of water column) | 1/2 PSI (14.0 inches of water column) |
The bottom row deserves as much attention as the top one. The range’s regulator is the final stage, not a stand-in for the regulators at the tank and at the house, and whatever reaches the inlet has to stay at or below 1/2 PSI. On a Phoenix property running off propane, a tank that bakes in a side yard through summer afternoons above 110 degrees builds more internal pressure than it does in January. Handling that swing is the job of those outdoor regulators, which is exactly why nobody should remove or bypass one to chase a bigger flame.
Getting the kitchen ready before the visit
A few things on the homeowner’s side keep the appointment short.
The outlet. Even a gas range needs power to spark. The 5 Series wants a grounded 3-prong 120VAC/60 Hz outlet on a circuit fused separately from anything else. Its cord is only 4 feet long, so an outlet buried behind a drawer base or shared with another appliance is worth fixing first.
The anti-tip brackets. The metal brackets in the carton are the anti-tip devices, and the manual warns against throwing them out. Reaching the gas connection usually means sliding the range forward, so confirm it goes back into its bracket afterwards. The Consumer Product Safety Commission advises that the bracket be fastened firmly to the wall or floor with the range held securely in it.
The supply. Know where the range’s shutoff valve is, and whether the propane line has actually been run to the kitchen. Older houses can complicate both the gas line and the circuit; our note on gas supply and circuits in Garfield bungalows walks through that.
Why sniffing is not a leak check
Once any gas joint has been opened, leaks are found with a leak-detection solution or a meter, never by smell alone. The National Fire Protection Association notes that people can stop noticing the odorant added to fuel gas within a minute or two, an effect called olfactory fatigue. If your home cooks on propane, a fuel gas alarm is a sensible addition. Under NFPA 715, one belongs close to each gas-burning appliance and another just outside the bedrooms, and a compliant unit is designed to sound by the time gas in the room hits 10 percent of its lower explosive limit, if not sooner.
Signs the conversion was skipped or left half done
- Tall, yellow, lazy flames that blacken the bottoms of pans usually mean propane is flowing through natural-gas orifices.
- Small, weak flames that lift off the burner or die on low point the other way: orifices or regulator left at the wrong setting for the fuel.
- Clicking that will not stop. The 5 Series relights a burner on its own if the flame goes out while gas is still flowing, so steady clicking after a conversion can mean the flame is not holding at that setting. Our guide to a Viking burner that clicks but never lights covers the other usual causes.
- No clicking at all. Turn the knob back to off, then look behind the range for a loose plug and check the panel for a tripped breaker or blown fuse.
If you smell gas, turn the burners off, close the range’s shutoff valve if you can reach it safely, leave the house and call your gas supplier from outside. For flame trouble without any odor, a technician can compare the orifices, the regulator setting and the low-flame adjustments with the kit’s instructions. Viking Repair Service Phoenix handles Viking range repair in Estrella, Alhambra, South Mountain and Garfield; call (480) 605-0709 to book a look.
Follow-up questions
- Can I fit the LPKPDR01 kit on my Viking range myself?
- No. Viking treats a field conversion to LP as gas work for a qualified installer or technician, not something for the owner. The job means opening gas joints, resetting the pressure regulator and leak-testing everything afterwards, and a mistake shows up as soot, a flame that will not hold, or a leak you may not smell.
- Will my Viking 5 Series range cook with less heat on propane?
- Slightly, on paper, and that is normal. The ordinary sealed burners go from 15,000 BTU down to 12,500 BTU once converted, and the TruPower Plus front-right burner on select models drops from 18,500 to 16,600 BTU. The lower figures are part of the design, not a sign the conversion went wrong.
- Do I need the kit if my range was ordered for LP?
- No. Viking builds 5 Series gas ranges for either natural gas or LP, so a range that left the factory set up for propane is ready for a propane supply as delivered. Check the fuel type printed on the rating label; the kit is only for a range labelled for natural gas that now has to run on LP.
- Does a gas range still need an electrical outlet after conversion?
- Yes. The ignition runs on electricity, so a 5 Series gas range needs a grounded 3-prong 120VAC/60 Hz outlet on its own separately fused circuit, whatever fuel it burns. The 4-foot cord draws at most 1.0 amps on a 30-inch model and 1.5 amps on a 36-inch model.
- What does it cost to have a converted range checked?
- Expect an $89 service call first: a single flat fee for the trip to your kitchen and a complete diagnosis of the converted range, later counted against the repair price when you approve the work. If an igniter or burner assembly has to be replaced, that work typically runs $170–$420, with the firm price given after diagnosis.
Written by
Jonas Eriksson
Service technician — doors, hinges and alignment · 20 years in the trade
Checks how a door sits before checking what it is wired to. Hinges that have lost tension explain more running-time complaints than any control board ever has.